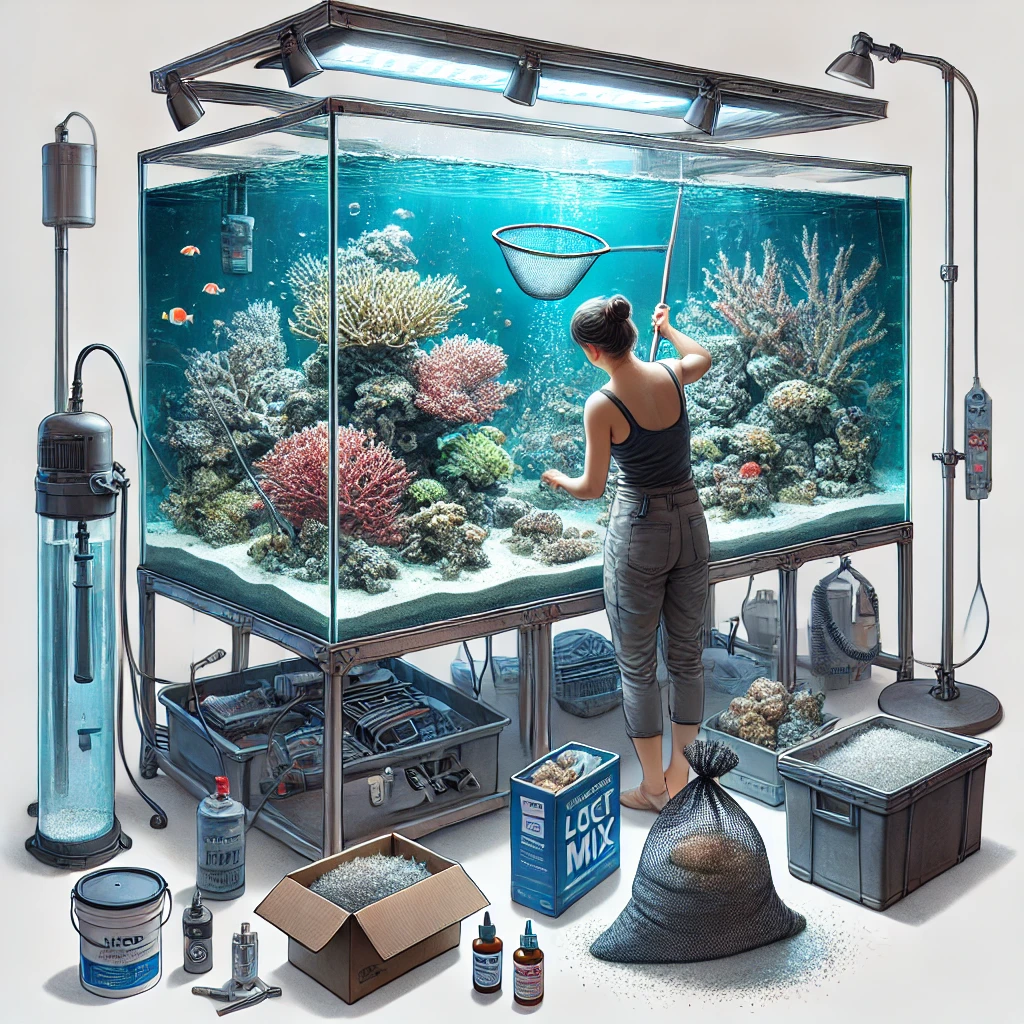
Starting a saltwater aquarium is an exciting journey that rewards patience and preparation. As someone who’s helped dozens of newcomers set up their first tanks, I’ve created this comprehensive guide to walk you through every step of the process. Let’s turn your marine aquarium dreams into reality!
Understanding the Investment
Before we dive into the setup process, let’s talk about what you’ll need and the associated costs. Being prepared helps avoid costly mistakes and ensures success.
Essential Equipment List and Approximate Costs
Basic Setup Components:
- 40-gallon tank (recommended starter size): $100-150
- Stand: $100-200
- LED lighting system: $200-300
- Protein skimmer: $150-250
- Return pump: $50-100
- Heater: $30-50
- Thermometer: $10
- Test kit (comprehensive): $50
- Salt mix: $50
- Substrate (live sand): $40-60
- Live rock: $100-200 (varies by pound)
Total Initial Investment: $880-1,420
Note: These prices are averages and may vary based on your location and specific choices.
Step-by-Step Setup Guide
1. Location Selection
Your tank’s location is crucial for long-term success. Consider:
- Floor strength (a 40-gallon tank weighs about 400 pounds when full)
- Distance from windows (avoid direct sunlight)
- Access to electrical outlets
- Easy maintenance access
- Temperature stability
- Distance from air vents
Pro Tip: Place your stand on a level surface and use a bubble level to ensure perfect alignment before adding water.
2. Equipment Installation
Follow this sequence for optimal setup:
- Plumbing System
- Install overflow box
- Connect return pump
- Test for leaks using freshwater
- Ensure proper sump setup
- Filtration Components
- Position protein skimmer
- Install heater
- Set up return pump
- Add mechanical filtration media
- Lighting System
- Mount LED fixtures
- Program light schedule (start with 6-8 hours daily)
- Position for optimal coverage
3. Aquascaping and Substrate
Creating a stable foundation is essential:
- Add Substrate
- Rinse sand thoroughly before adding
- Aim for 1-2 inches depth
- Slope slightly toward the back for depth perception
- Aquascape with Live Rock
- Use 1-1.5 pounds per gallon
- Create stable structures
- Leave swimming spaces
- Form caves and hiding spots
Pro Tip: Use egg crate under large rocks to distribute weight and protect your tank bottom.
4. The Cycling Process
Patience is crucial during cycling:
Week 1-2:
- Add bacteria starter
- Monitor ammonia levels daily
- Maintain temperature at 78-80°F
- Run all equipment
- Keep lights on minimal schedule
Week 2-3:
- Watch for nitrite spike
- Continue monitoring ammonia
- Perform small water changes if nitrites exceed 5ppm
Week 3-4:
- Monitor nitrate development
- Test for ammonia and nitrites
- Prepare for first livestock
Target Parameters:
- Ammonia: 0 ppm
- Nitrites: 0 ppm
- Nitrates: <20 ppm
- pH: 8.2-8.4
- Salinity: 1.025
- Temperature: 78°F
First Livestock Selection
Start with hardy clean-up crew members:
- Week 1 Post-Cycle:
- Hermit crabs (5-10)
- Turbo snails (3-5)
- Nassarius snails (5-10)
- Week 2-3:
- Clownfish pair
- Blue-leg hermit crabs
- Week 4+:
- More fish (following bioload guidelines)
- Hardier corals (if desired)
Maintenance Schedule
Establish these routine tasks:
Daily:
- Temperature check
- Equipment check
- Fish observation
- Feed appropriately
Weekly:
- Water testing
- 10-20% water change
- Protein skimmer cleaning
- Filter sock replacement
Monthly:
- Deep substrate cleaning
- Return pump cleaning
- Salt mixing station maintenance
- Equipment detailed check
Common Beginner Mistakes to Avoid
- Rushing the Cycle
- Solution: Use test kits religiously
- Document all parameters
- Wait for complete cycle
- Overfeeding
- Start with once-daily feeding
- Remove uneaten food
- Observe fish behavior
- Poor Maintenance Habits
- Create a maintenance calendar
- Set reminders for water changes
- Keep testing supplies stocked
Success Tips
- Keep a Log
- Track parameters
- Note livestock additions
- Record maintenance tasks
- Document any issues
- Join Communities
- Local fish stores
- Online forums
- Social media groups
- Local clubs
- Emergency Preparation
- Keep backup heater
- Extra salt mix
- Emergency power supply
- Basic medication kit
Moving Forward
Remember, success in this hobby comes from:
- Patience during cycling
- Consistent maintenance
- Regular testing
- Gradual livestock addition
- Continuous learning
Don’t hesitate to reach out with questions in the comments below. Next week, we’ll dive deep into selecting your first fish, covering compatibility, feeding requirements, and quarantine procedures.
What aspect of setting up your first tank concerns you most? Let me know in the comments!
Happy Reefing!
P.S. Don’t forget to follow us on Instagram @SaltwaterFishPro for daily tank updates, equipment tips, and stunning marine life photos!

